 |
 |
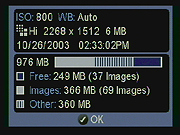
| Camera Info: Displays current status of
several camera settings, as well as the amount of used and available
space on the memory card. |
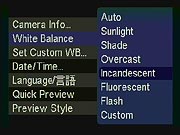
White Balance: Sets the white balance to
Auto, Sunlight, Shade, Overcast, Incandescent, Fluorescent, Flash,
or Custom. - Note that the Custom white balance value is set via the
next menu option. |
 |
 |
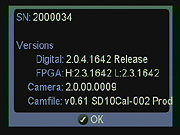
| Program Versions #1: This displays the
version numbers of some of the programs running behind the scenes
the SD10. This is a "hidden" screen which Sigma told SD9
users how to access during a firmware upgrade, and it also exists
on the SD10. To view it, go to the Camera Info screen and then on
the Four-Way Arrow Pad press "Right", then "Down". |
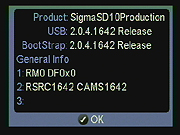
Program Versions #2: This displays more
version numbers of some of the programs behind the scenes in the SD10.
As with Program Versions #1, this is a "hidden" screen.
To view it, go to that screen and then on the Four-Way Arrow Pad press
"Down". NOTE that although this identifies our camera as
a production model, Sigma tells us it is actually a "near-production
model". |
 |
 |
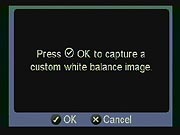
| Set Custom WB: Captures an image (typically
of a white card), from which the camera will base the Custom white
balance value. |
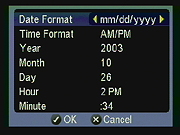
Date/Time: Sets the camera's internal clock
and calendar. |
 |
 |
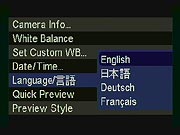
| Language: Specifies English, Japanese,
German, or French as the menu language. |
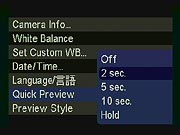
Quick Preview: Enables a quick image review
screen, immediately after image capture. Settings are Off, two, five,
or 10 seconds, with a Hold setting that waits for you to confirm the
image before recording. When Hold is selected, the displayed image
can be dismissed either by pressing the Cancel button or by half-
or fully-pressing the shutter button. |
 |
 |
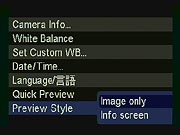
| Preview Style: Designates whether the image
only, or the image with an information screen appears in the Quick
Preview. |
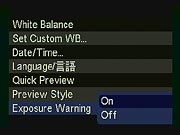
Exposure Warning: Turns the Exposure Warning
on or off. If on, the warning highlights any potential overexposure
on the image review screen in solid red. |
 |
 |
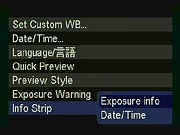
| Info Strip: Sets whether the exposure information
or the date and time appear in the info strip that displays above
each image in review mode. |
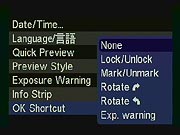
OK Shortcut: Assigns a specific default
function to the OK button, active during image review only. Choices
are None, Lock/Unlock, Mark/Unmark, Rotate Clockwise, Rotate Counterclockwise,
or Exposure Warning. |
 |
 |
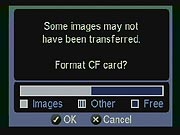
| Format CF Card: Formats the memory card,
erasing all files, even locked files. A warning appears if there are
images that have been shot but not downloaded yet, a handy feature
I've only seen before on Sigma's SD9, but that other manufacturers
would do well to emulate. |
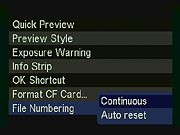
File Numbering: Specifies whether file
numbering continues from memory card to memory card, or whether numbering
resets with each new card. |
 |
 |
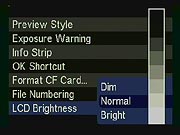
| LCD Brightness: Adjusts the overall brightness
of the LCD display to Dim, Normal, or Bright. In another nice touch,
the SD10 displays a grayscale bar so you can see the effect of your
setting choice, letting you make more intelligent adjustments based
on the current ambient light. |
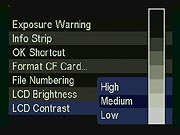
LCD Contrast: Adjusts the contrast of the
LCD monitor to High, Medium, or Low. A reference grayscale bar is
displayed for this adjustment as well. |
 |
 |
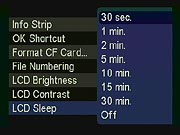
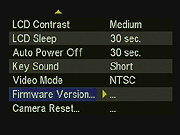
| LCD Sleep: Adjusts the LCD's power-saving
sleep function. Delay times are 30 seconds, or 1, 2, 5, 10, 15, or
30 minutes. An "Off" setting disables the sleep function,
leaving the LCD display on at all times. The default is 30 seconds.
|
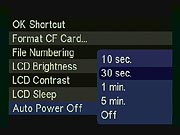
Auto Power Off: Sets the delay before the
camera automatically shuts itself off. Times are 10 or 30 seconds,
or one or five minutes. There's also an Off setting, to keep the camera
powered-up whenever the drive switch is set to one of its active positions.
The default is 30 seconds. |
 |
 |
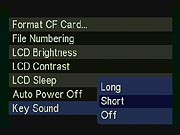
| Key Sound: Adjusts the camera's key sounds,
which sound whenever a button is fully pressed. (Options are Off,
Long or Short duration.) |
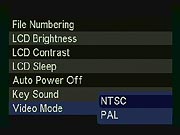
Video Mode: Sets the video output timing
to NTSC or PAL. |
 |
 |
| Firmware Version #1: Takes you to the screen
displayed in the next screenshot. |
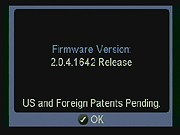
Firmware Version #2: Displays the SD10's
current firmware version. |
 |
 |
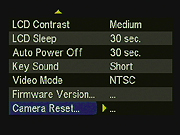
| Camera Reset: Takes you to the screen displayed
in the next screenshot. |
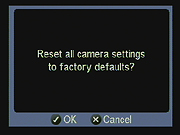
Camera Reset: Prompts you as to whether
you really want to restore the camera to its default settings, and
gives you the opportunity to cancel.. |
Settings
Menu: The following settings menu can be accessed in any camera mode, simply
by pressing the Menu button. (I've chosen to show each option as a separate
screen, since some of them contain quite a bit of information, and my usual
practice of using an animated sequence could be confusing.)

Follow Imaging Resource: