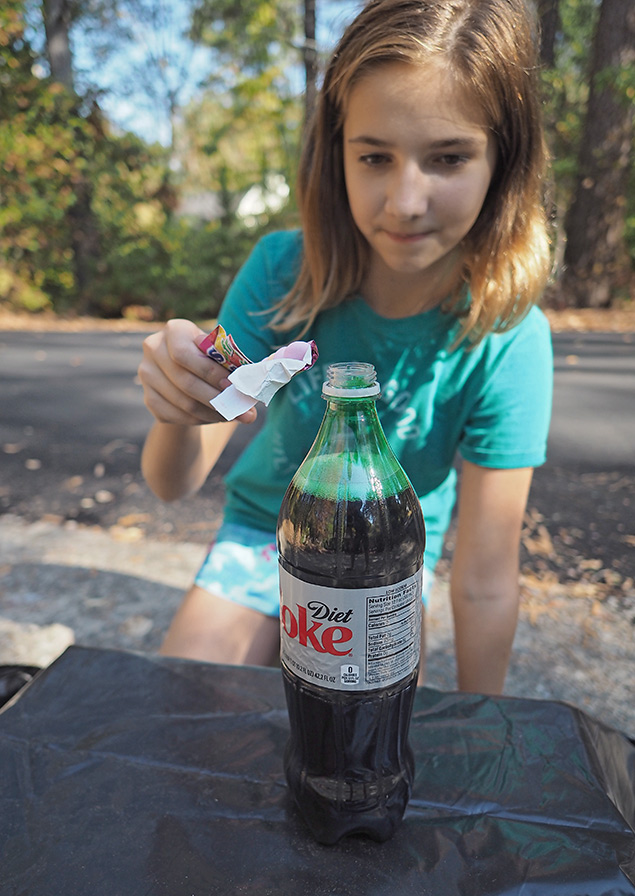
Blast Off! How to make and photograph the Coke & Mentos trick (better than anyone else!)
posted Saturday, December 24, 2016 at 2:24 PM EST
I'm glad I didn't let this pass me by before my kids got older.
I grew up with a passion for volcanoes and also things like building and launching model rockets, not to mention a love for fireworks. So I was surprised I'd never even heard of the simple yet potent "Coke & Mentos trick" until recently. I was helping my daughter with a 5th grade science project for a homemade volcano, studying up on things I already knew, and just happened upon the trick in a random search.
We added this to our school project arsenal as "extra credit" (it netted her a 110 grade!), but the trick expanded into all the kids from the neighborhood joining in the fun. My wife, skeptical at first, saw it once and said: "I gotta go to the store and get more supplies!" It really is quite the nifty little trick, but I found some ways to make the fun go a little farther and decided it was simply too good not to share with our readers during the holiday season.

[1/1000s / f/2 / ISO 200 / 90mm eq. / Olympus E-M10 II + 45mm f/1.8 M.Zuiko lens]
[Want to go straight to the photography part? Just click here!]
Coke + Mentos? Why does this happen?
Before we proceed with the trick itself, as an armchair scientist wanna-be I have to say I was stunned by the reaction that simply combining Coke and Mentos creates. I've been part of numerous volcano assembly projects with the classic baking soda and vinegar or lemon juice combo, and while that's certainly fun and all, it doesn't explode so much as just slowly bubble over. Coke and Mentos, when combined in the right circumstances, can and will explode to a degree, but the armchair scientist in me knew it wasn't the simplicity of a base reacting with an acid. (I mean, it's basically just candy mixed with candy, right?)

Well, I learned from this helpful article that it's not a chemical reaction at all, but a physics thing! (Oh, I'm much more into physics than chemistry. Give me physics any day of the week over chemistry.) But why in the world would a soda pop and some random candy physically create a mini-explosion?!?
According to the article, also referencing another article interviewing Tonya Coffee, a physicist at Appalachian State University, it's all about the process of nucleation. (Now there's a household word, eh?) I'll try and give a brief layman synopsis, but anyone interested should read those two articles for a deeper dive (and then come back here to get the most bang for your proverbial buck in the experiment.). For whatever reason, the CO2 bubbles in the soda are physically "attracted" to certain types of rough microscopic surfaces, and because the Mentos are sprayed with a few "million" outer layers of sugar (exaggeration warning), it turns out they apparently have a very interesting surface that appeals madly to those feisty Coke bubbles (and other soda too, but Coke is particularly fizzy among the soda crowd). When the bubbles get excited by the texture of the Mentos they expand, and then....... BOOM! Explosion central.
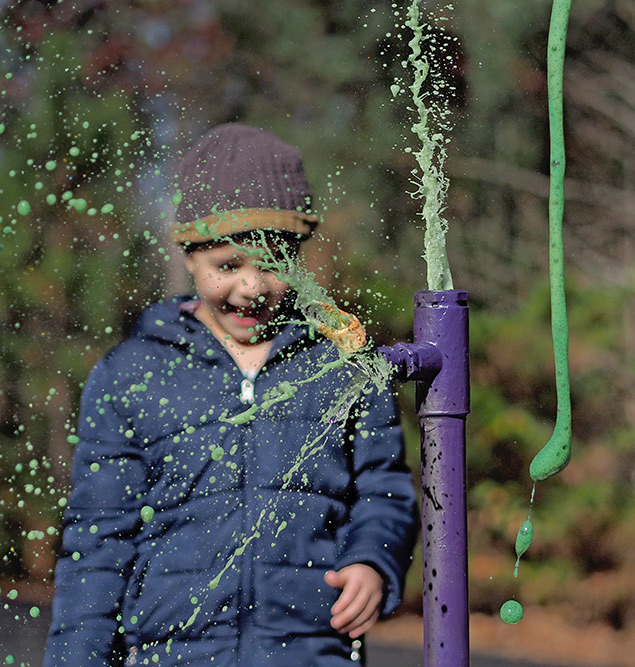
Let's do it!
So now you know just as much as I do about why this odd and interesting reaction occurs, so it's time to explore it for yourself. Don't worry about creating the high-arching fireballs like you see above just yet, better to simply try it the easy way for starters. Just drop one Mentos into a bottle of Coke or other soft drink and watch it fizz out! A note that diet sodas are preferable in that they don't leave a sugary residue on clothes and such, and they do seem to cause an even larger explosion than the sugary varieties. (More on options for ammunition in just a bit!)
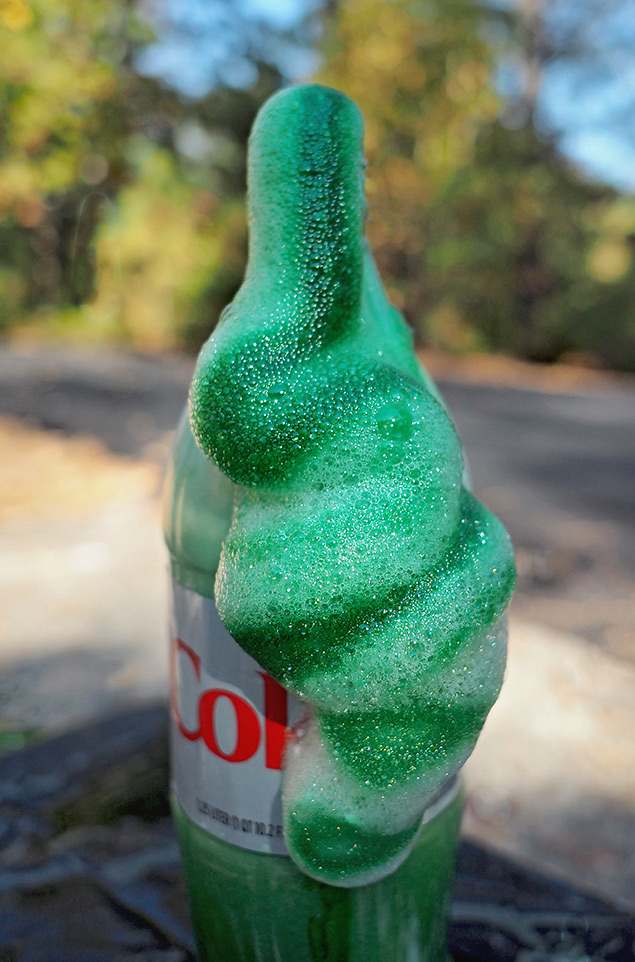
For a boost to the visuals, we started adding food coloring, which is highly recommended. It helps the photographic results tremendously, and the kids enjoy the art of mixing colors. You can also add some dish detergent, which will slow the reaction but also prolong it. Your results might vary from ours, but below is one example of what you might see.
Now for The Full Monty
The most common way I've seen people trying the full-blown experiment is dropping a whole package of Mentos into a Coke and watching the resulting chaos. That's certainly a good way to try it out, but from the start that didn't quite do it for me. It was just too... sudden, a bit anticlimactic, and there wasn't any suspenseful build-up to the fun. For this reason, we started experimenting with using a hollow bamboo tube (which resulted in a lot of really fun messes) and that led to trying out various plumbing PVC. (Ah yes... now the real fun was beginning to happen.)
To get started, find or buy a short tube of 1 1/4 inch PVC pipe and cut it to whatever length you'd like to try out. A two-foot length is a good starting point, and the home stores often carry that length in stock for a buck or so. The easiest way to try this out is to simply open the Coke, add food coloring if you desire, place the pipe on top of the opening and then drop in as many Methos as you'd like into the top of the pipe. Try to drop them in rapid succession, because you won't have much time before the resulting geyser erupts!
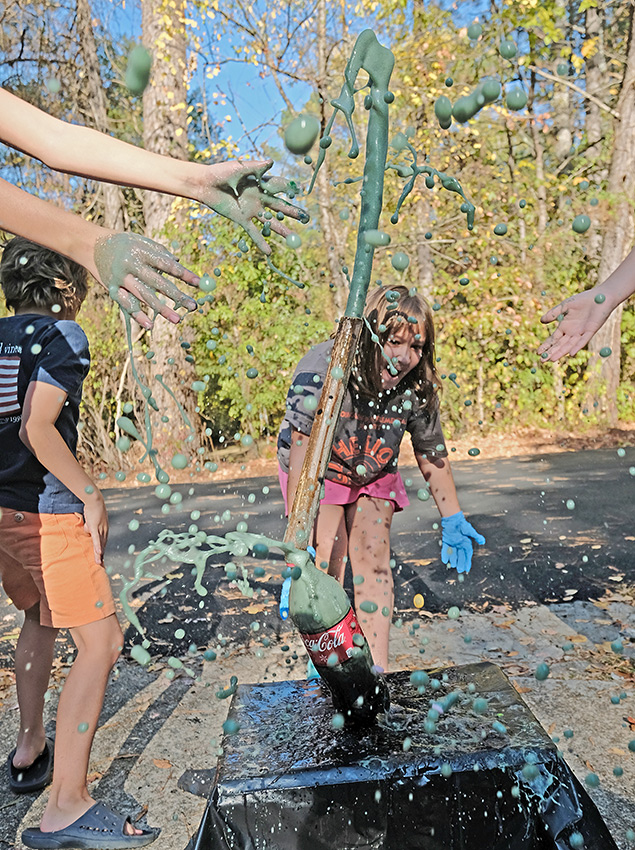
before the eruption occurred, and the result is a fun dose of Coke-fueled chaos.
[1/800s / f/4 / ISO 400 / 22mm eq. / Fuji X-T2 + Fujinon XF 10-24mm f/4 lens]
But this is just the beginning, as the real fun lies in the modifications to your armament, and a secret additive to your ammunition...
Fortifying your arsenal
Now, let's discuss a few ways to customize your "blaster," and then we'll move on to the best ways to photograph the fun.

This trick is about fun first and foremost, but if you do it with your kids or grandkids, there are plenty of ways that it's also educational and very hands-on at that. Once we realized how well an extension tube of PVC worked, the next logical "extension" was to create custom piping for the next launch, so we headed to the plumbing section of our local home store and got to work. This proved to be one of the most enjoyable parts of the project, watching my kids try and figure out how to assemble PVC parts to create something interesting.
The reasons for the custom rig are threefold: (1) To create something unique and fun; (2) To direct the blast however you'd like to direct it; and (3) to potentially either restrict the stream (and thus make it more powerful) and/or to route it into two or more streams. There's no right or wrong here, so for you creative types it's a great way to really have some fun for just a few bucks cost, and a learning experience for kids in the process. (We even added a crab claw from dinner the night before, just for that extra push over the creative cliff.)
You can use pipe glue if you want, but as long as the parts fit snugly, it's not likely necessary for the little pressure this trick exerts. But I do recommend coating your rig with rubber coating (sold in the home stores, with the most common being Plasti Dip). This dries fairly quickly, gives your blaster a more tactile hand-hold, and can then be painted however you like. Once your custom blaster is ready, you can either drop the Mentos in from the top, or load them into the blaster while vertical and then position it onto the Coke bottle as they tumble in. (More creative options on explosives loading to come in Part II).
"Does other candy work?"
Yes! Any candy with a porous surface will incite some form of fizz when it contacts the carbonation. The one candy we've found that works almost as well as Methos is Pop Rocks. Our biggest secret in fact was determining that in combination, the two provide a spectacular and very combustive result!
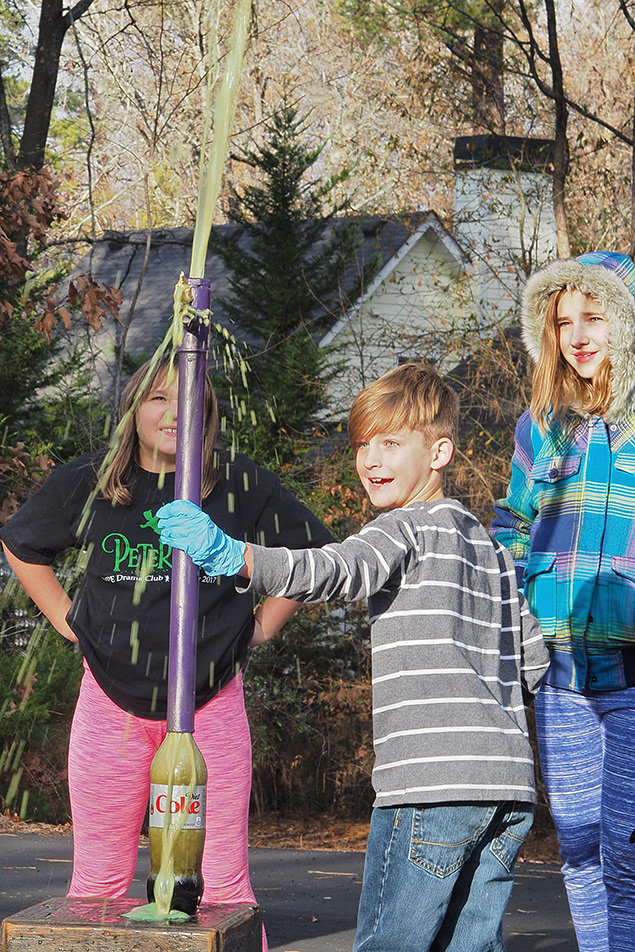
A half-pack of Mentos (about 6 pieces) combined with a half-pack of Pop Rocks
dropped quickly into a 1-liter Diet Coke can really get the soda jets cranking!
(Slower shutter speed of 1/100s and stopped down here for a different type effect.)
[1/100s / f/10 / ISO 200 / 90mm eq. / Olympus E-M10 II + 45mm f/1.8 M.Zuiko lens]
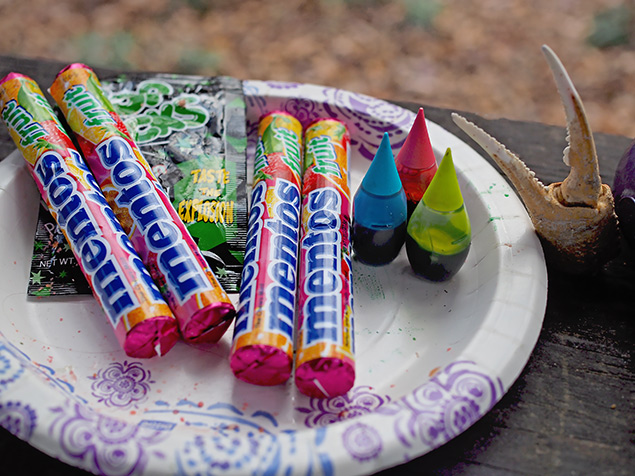
So that's the basics for the how-to part of creating the Coke & Mentos trick. Now it's time for the flip-side of this article, which is how to best record the moments...
Capturing the chaos
Ample ambient light is your best option for photographing this experiment and preserving the moments, as this allows you to use fast shutter speeds without the need to crank up your ISO. I also recommend a prime lens with a fast aperture (relatively small number) so that you can achieve good subject-to-background isolation. You'll want to choose a focal length that lets you stand a comfortable distance from the soda stream, and for this I recommend anywhere from 50-100mm equivalent range.
By employing a fairly wide aperture, you can then get good subject-to-background isolation, which allows the primary subject (the stream and the spheres from the explosion) to really stand out or "pop" from the picture. Of course, you can also choose to have the people doing the experiment in focus, and the stream and pipe somewhat out of focus. Each of these can "work" depending on the shot you're trying to achieve, and below are examples of each.

[1/1600s / f/2 / ISO 200 / 90mm eq. / Olympus E-M10 II + 45mm f/1.8 M.Zuiko lens]
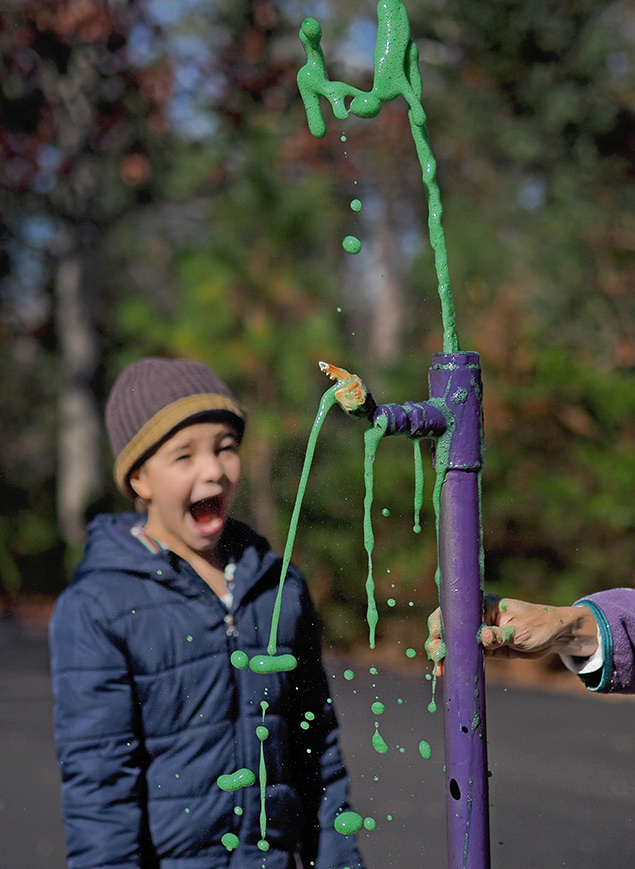
[1/16000s / f/1.8 / ISO 125 / 90mm eq. / Olympus E-M10 II + 45mm f/1.8 M.Zuiko lens]
A shutter speed of 1/500s is about the shortest that will start to freeze this effect, but even shorter is better if you can achieve it. Given ample light and a wide aperture lens, you should have no problem getting much faster speeds, and may even need to employ electronic shutter in order to go faster than your camera's mechanical shutter can go (if applicable). I like to expose for the faces in these shots, which often means underexposing what the camera thinks is the correct exposure. Again, there's no right or wrong, but most of these shots were intentionally underexposed to get the look I was aiming for.
All of these images were captured using some form of burst shooting mode, called "sequential" by some and "continuous" by others. It's your choice whether or not to use "low" or "high" burst modes, depending on your camera, but trying to use single capture and timing the moment "just right" will almost never work for this. You want to come away with 5-10 or more images from each "blast" and then go through and pick the best one or two. Of all the tips here, I'd say this is the most important. My favorite way to capture this is using manual focus, and to then focus on the point where the stream leaves the pipe (or bottle, if you don't use a pipe). You can also just use S-AF, which won't alter the focus once you're in burst mode (like C-AF will). Best to experiment, and find whatever works best for you and your rig!
High-speed video and 4K Photo capture
Once you've captured some good still images, you'll want to experiment with high-speed video, as this trick is a perfect use-case for it. Employing 120 fps or 240fps high-speed video can yield really cool results. And if you don't have these options, you can try shooting normal video in 60fps and then slowing it down in post-production software. Of course, waterproof cameras like the Olympus TG-4 (used in the second video below) are another obvious choice for this trick since you won't even need to worry about the stream too much.
Yet another good thing to try is '4K Photo' capture for anyone with a Panasonic camera capable of doing this. With Panasonic's 4K Photo mode, you'll be shooting at 30fps and can then extract 8-megapixel photos from the frames, ensuring you'll capture exactly the right moment from the blast. Other cameras like the new Canon 5D Mark IV can also shoot 4K video and offer the ability to extract still frames, and I'll try these out soon for a follow-up article.
[Olympus E-M10 II • 1920x1080 • 60fps (slowed in post-production)]
[Olympus TG-4 • 120fps HS (640x480)]
Summing it up
More than anything else, keep in mind that this little trick can be used to create a myriad of activities for you and your kids, grandkids, nieces or nephews, from shopping for the supplies and building the "blaster" itself, to having a ball with the experiment and capturing great photos. Even sorting through the images later in the day with them can be a ton of fun and a nice addition to a holiday or other family gathering.
As I was wrapping up the shooting and writing for this article it suddenly dawned on me an even better way to build The Blaster, so stay tuned for Part 2 of this article, as I'll unveil that technique and also explore more with things like 4K capture for this trick. In parting, I'll leave you with a few additional images captured through the first part of this learning experience.
"Houston, we are GO for launch"

"Houston, we have ignition"
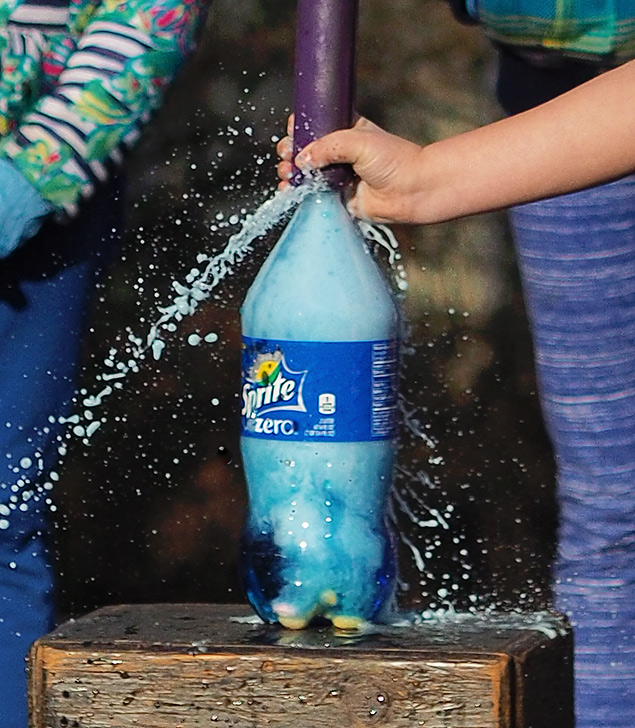
Sprite Zero, which also proved to be quite the potent combination.
"Houston, we have outboard thrusters"
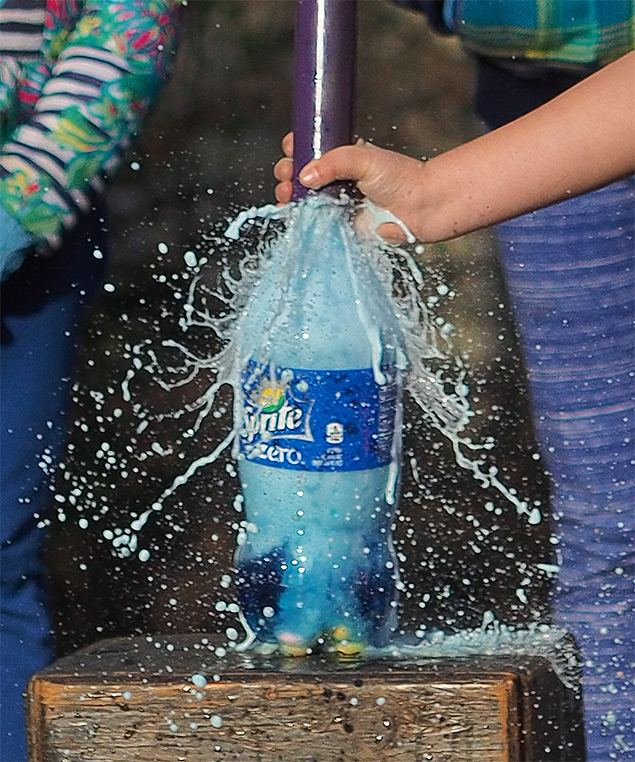
"Houston, we have lift-off!"
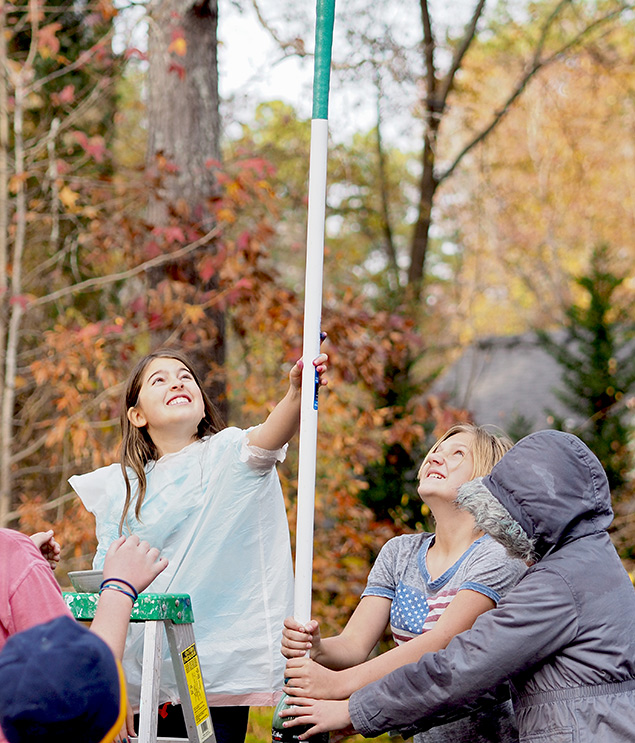
"Houston, we have a problem"

work out as planned, but even the mishaps in this type experiment can be a lot of fun.
"Houston, it's raining Coca-Cola!"

Stay tuned for Part 2!
[Note: The primary camera used to capture these images is an Olympus E-M10 Mark II. It's an incredibly capable camera for the price, and if you'd like to see more images captured with it please see our Field Tests and also our E-M10 II Gallery Page.]

