Wildlife photography from a kayak: Tips for taking your wildlife photography to the next level
posted Friday, August 13, 2021 at 1:45 PM EST
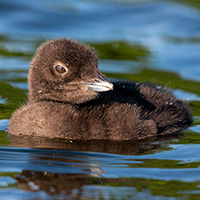
There are few photographic experiences that I find more enjoyable – and productive – than an early morning out in the water in my kayak. While kayaking – or canoeing – can be an enjoyable and worthwhile experience without a camera, packing my photo gear in a waterproof bag and placing it in the kayak has resulted in many of my favorite images.
Today, I'd like to talk about using my kayak for wildlife photography. In this article, I'll discuss the gear I use and offer general tips for getting the most out of time spent on the water.
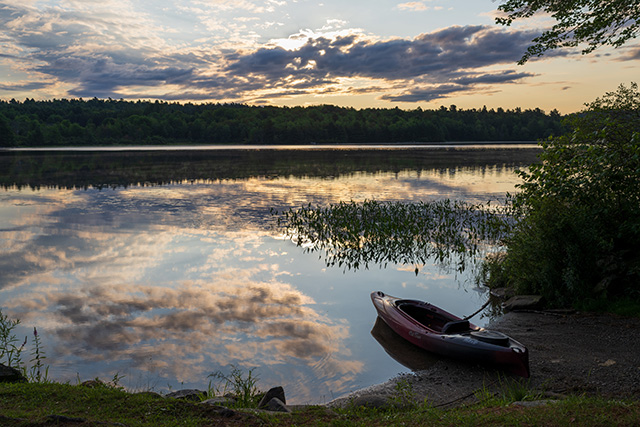
It should go without saying, but I'll say it anyway, the most important thing on the water is being safe. In many places, Maine included, ponds and lakes are cold for much of the year and it's difficult to swim in cold water, especially if you've got heavy clothes on. No photograph is more important than your safety, so be careful out there.
Must-have gear
The most critical gear is a kayak (or canoe). You won't get far without one. In my case, I use an Old Town kayak designed for anglers. I like this type of kayak because it features an open seating area, allowing easy access to my gear, which I keep between my legs when paddling. Without a skirt, some water gets in while paddling, so a waterproof bag that can be quickly opened/closed is key.
My kayak is short and wide, which aids stability. It also means that the kayak is light enough that it can be lifted by a single person, although I'd be lying if I said that it's always easy to do so, especially early in the morning. Where the shorter length of the craft hurts is that it can be difficult to keep the kayak straight. I often must stop shooting to make minor adjustments to the kayak's path to keep my camera pointed at my subject.
Of course, you can have great luck with many different types of kayaks. I happen to live a couple of towns away from Old Town Canoe's headquarters, so it was an easy choice to support a local company with a great reputation. However, many companies make great kayaks. While I've never used one, collapsible or inflatable ones seem to be growing in popularity, and I imagine those would be much easier to travel with. Assuming you've gone the traditional route, having a way to get the kayak from your house or place of storage to the water is important. There are too many variables here to comment on any method at length, but I'll say that roof mounting on a small SUV has worked well so far.
I think there are a few key things to consider when buying a kayak for wildlife photography. You want the craft to be stable and suited to the waters where you'll be spending much of your time. I only go out when it's calm, and I stick primarily to ponds and streams. An ocean is a different ballgame, and I find Maine's coastline and rough, cold seas to be a bit too much for me, so I have no expertise concerning seafaring kayaks.
Having an easily accessible area to store your photo gear is also key. I can easily fit a camera and large lenses on the floor of my kayak. A DSLR and 200-500mm lens are manageable. Back when I shot with a full-frame 400mm f/2.8 lens, that was manageable too, even with a monopod attached. I like to be able just to reach down and grab my camera.
Stability is another key factor to consider. I'm quite experienced in a kayak at this point, but when I was first getting used to the experience of photographing out on the water, I was grateful for a kayak that was designed to be used by anglers. After all, if you cast from a seated position in a kayak, the boat can't be too tippy. It takes quite a bit of effort to tip over my kayak. Well, I assume it does. I've thankfully never done it nor even come close to doing it. My cameras would thank me if they could, I'm sure.
Beyond the watercraft itself, there are some additional items I would never want to go without. A comfortable life preserver, for starters. I can swim, but not well enough to believe I'd be totally fine in a situation of panic. Besides, as I mentioned earlier, an early morning dip in a local pond would be a horrible and dangerous experience during much of the year.
A waterproof bag is also a fundamental piece of equipment. No matter what I do, water finds its way inside the boat. Either from getting in or out of the kayak, paddling, or just rapidly changing weather, stuff gets wet. I like to keep my gear inside the bag when loading and then typically set it on top of the bag while paddling, ensuring it's easy to reach when photo opportunities arise. When gear gets wet, which happens despite precautions, a towel comes in handy. I always keep a towel in the kayak. Many cameras and lenses are water-resistant, so a quick dab with the towel is often sufficient. I also like to keep a microfiber cloth in a plastic bag in a pocket in case the front of my lens gets wet, as I don't want to wipe it dry with a towel that I keep on the kayak's floor.
As for paddles, I keep it simple. Just make sure your paddle floats and is comfortable for you to use. Speaking of comfort, the seat in my kayak can become very uncomfortable when sitting for extended periods, so I purchased a kayak seat pad, and it has proven to be a very sound investment.
Other than that, I don't take much with me. I take my phone, of course, and waterproof shoes or boots are a good idea so that you can safely get into the kayak without needing to push it along too much ground. Sunglasses help a lot with glare on the water, and I try to remember sunscreen.
Okay, so you've got the kayak, now what?
Now the fun starts. You've got the boat, you've got the essentials, you're on the water, but how do you capitalize on the gear and the experience to capture nice photos?
I approach wildlife photography in a kayak similarly to how I approach it on dry land. Like with any type of photography, light is critical, and patience is key. The big difference is that you can get closer to a subject quickly and quietly with a kayak, which is more challenging when walking on land.
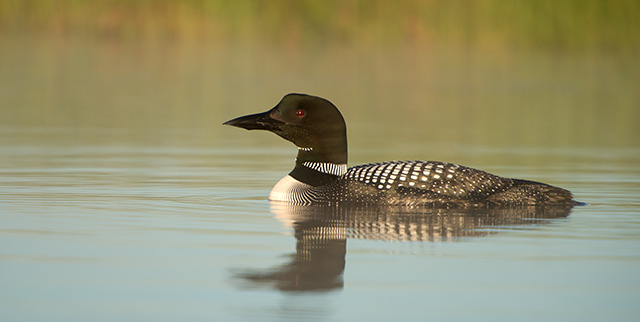
Preparation and research are important to give yourself the best chance at good light and, thus, good images. I prefer shooting in the early morning because it's more likely to be calm, there's seldom anyone on the water, and many different species of animals are active. Ideally, I look for very light winds and some cloud cover. Calm water makes for a great foreground. Who doesn't love reflections? Cloud cover helps take some of the edge off the light and can often extend the window of 'good' light, especially in the summer when good light can come and go very quickly. Overcast conditions are okay, too. If it's breezy or full sun, I'm unlikely to venture out.
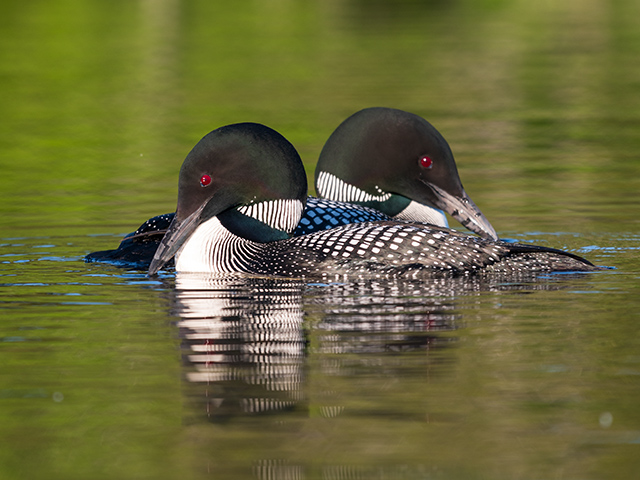
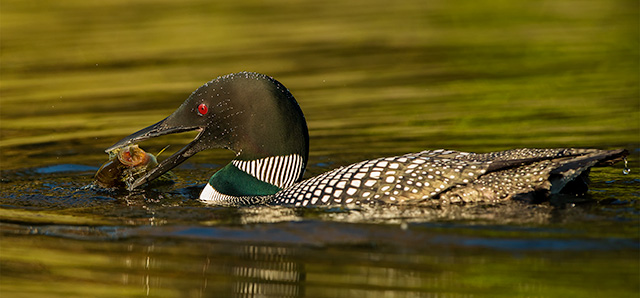
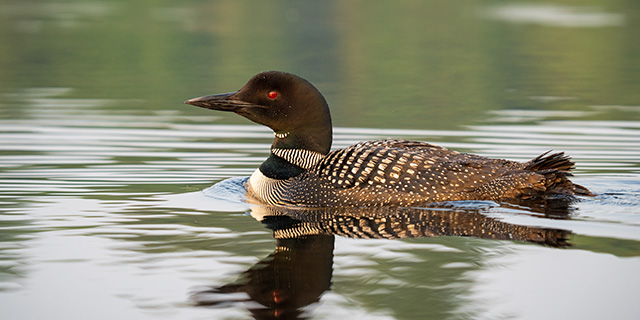
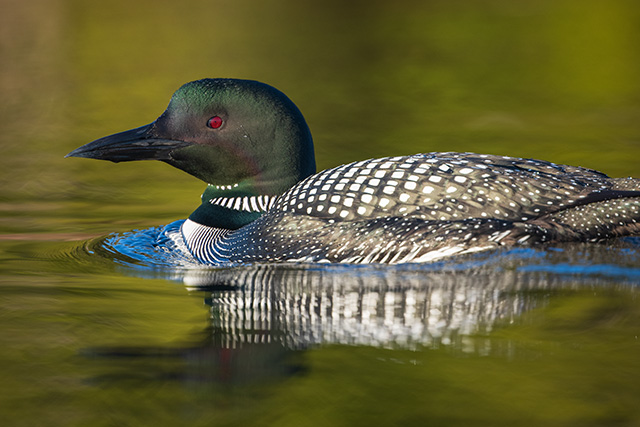
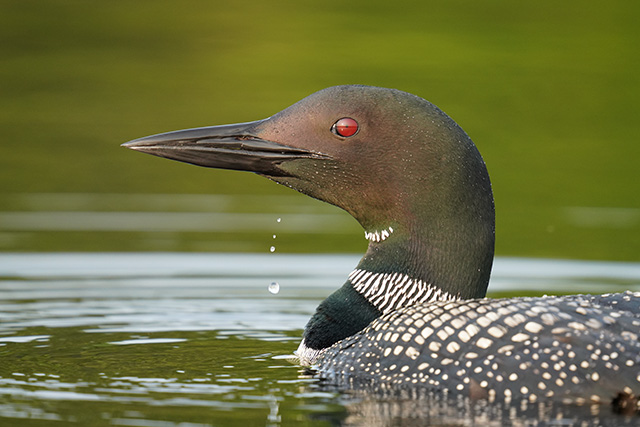
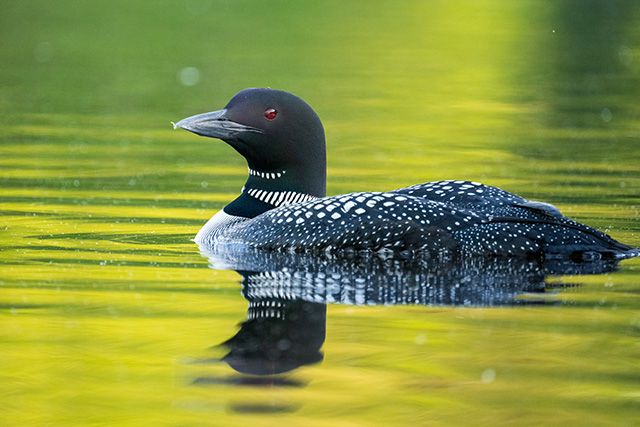
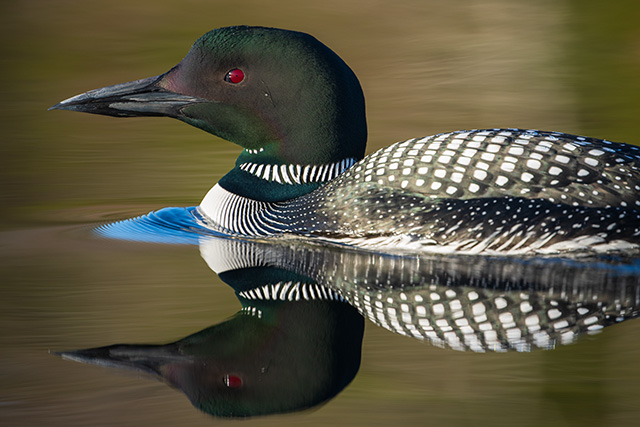
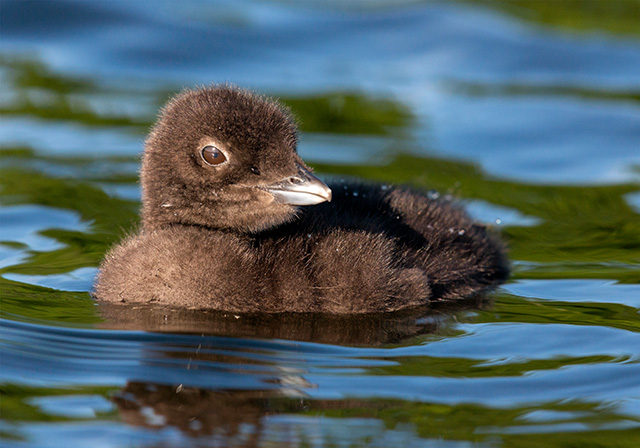
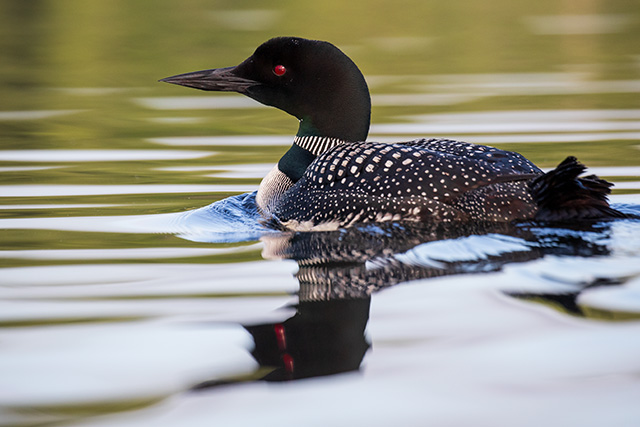
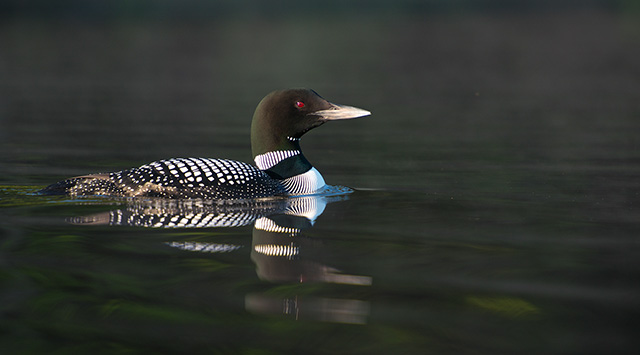
Experience plays a role, too. Being familiar with the area you're going to be kayaking helps considerably in ensuring you put yourself in good places for images. For example, my favorite subject to photograph from my kayak is loons. I love photographing loons. They're photogenic, for starters, but they're also fascinating birds. I've been around the local pairs enough that they're pretty comfortable when I'm around, too, which is huge. I'm also familiar with their nesting areas, which helps me stay far from sensitive areas and not upset the animals.
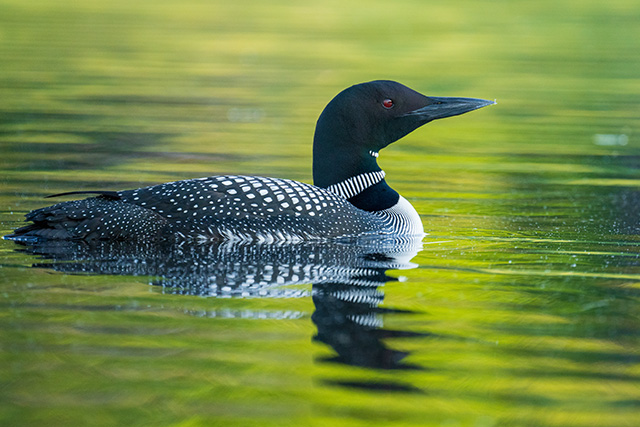
Being used to an area also helps understand how light and wind impact shooting conditions. The two ponds that I frequent have hills near them, but not in the same direction. This means that the rising sun impacts the quality of light in various areas of each pond in different ways. I wouldn't know that without having spent time there. Don't get me wrong, it's fun to check out new places, too, but just like with landscape photography, the more intimately you know an area, the better able you'll be to capture great shots.
What about actual camera settings? Even on a calm day, there's going to be some movement on the water. I typically use a higher shutter speed in a kayak than I would on dry land to help compensate for this movement. Modern image stabilization technology helps, but I try to stay above 1/500s and shoot for 1/1000s if the light allows. Working on hand-holding technique helps, as well. I also try to keep my elbows in against my body to help keep the camera steady.
When out just after sunrise, there's not much light. The improvements in sensor technology and high ISO performance have been amazing. Improved sensor quality has made it much easier to get high-quality images at faster shutter speeds and with slower (but lighter and more compact) lenses. It's not unusual for me to shoot at ISO 3200 or even 6400 early in the morning. A sharp shot with more noise is almost always better than a blurry shot with less noise.
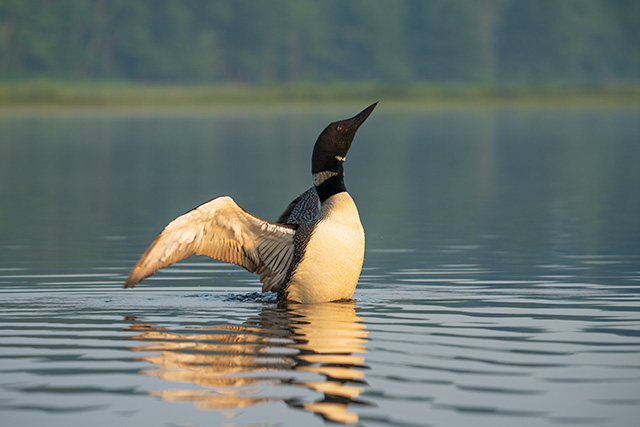
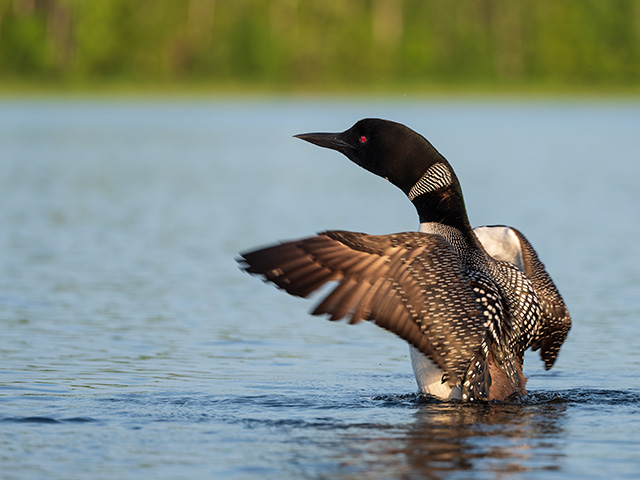
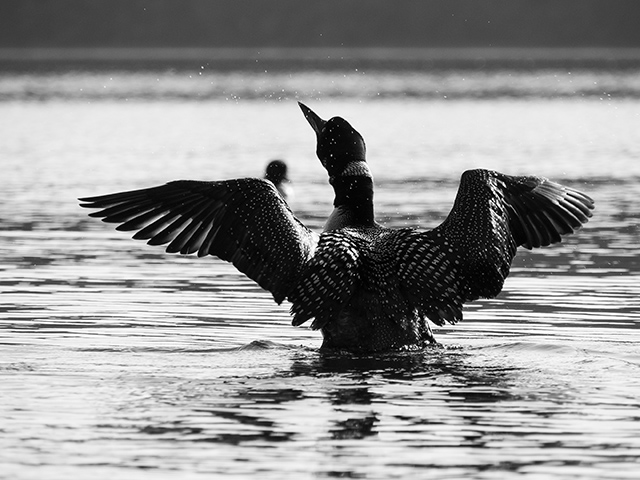
Being familiar with your subjects matters just as much as being knowledgeable about where you're paddling. Getting back to the loons, for example, I've photographed the species, and some of the same individuals, for years. I have a good sense of their behavior in general and how their behavior changes when they're nesting, rearing young, feeding, or preparing to leave for the winter. I also know quite well how they interact with one another. After spending a lot of time around them, I also know when they're about to stretch out their wings for that iconic loon image. This means I can prepare for that shot by getting my gear ready, increasing shutter speed if needed and prepare for the composition (after all, they take up more room in the frame when stretched out than when just swimming).
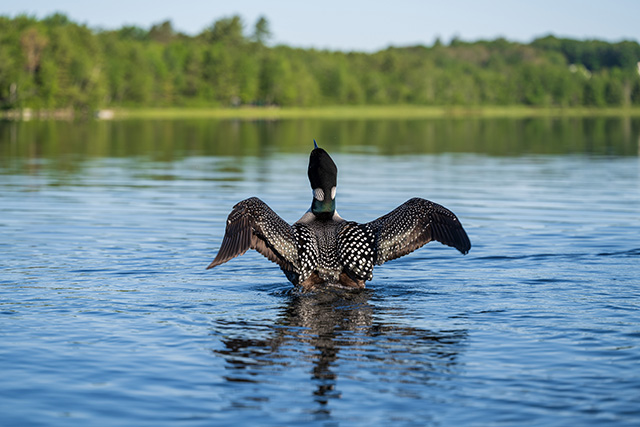
I also know where the loons like to hang out, so I don't waste time paddling all around the pond searching them out. They're often in one of a handful of spots. Combining knowledge of the pond and the subject means I also know where the water is likely to be the calmest and have the nicest light, so I can focus my efforts on preparing to be in the right place at the right time.
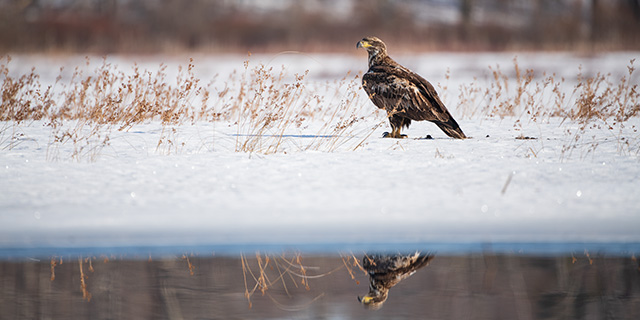
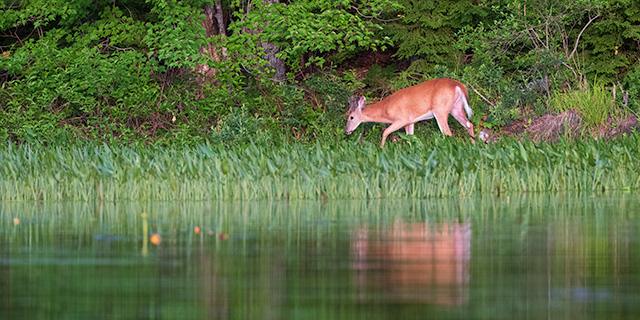
But I don't just photograph loons out on the water. There are lots of other animals to photograph. There are places on the shore where I sometimes see deer. There are eagles and osprey in the area, too, and knowing where they like to hang out just gives me more opportunities to grab a nice shot.
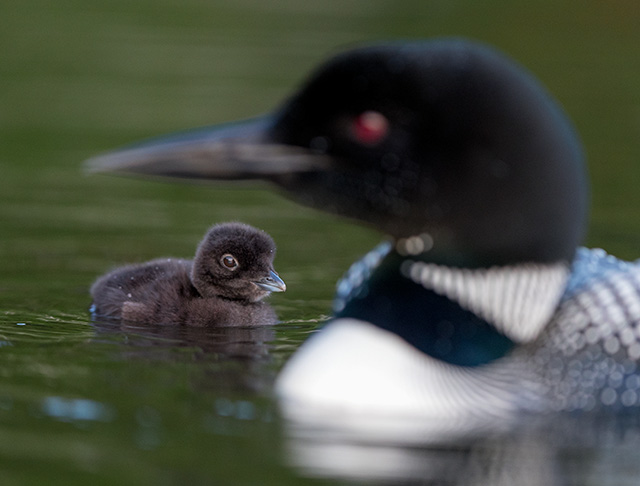
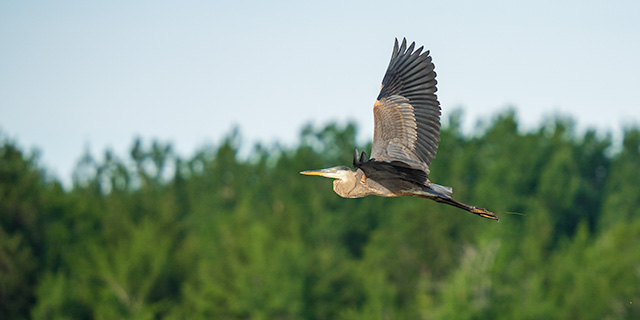
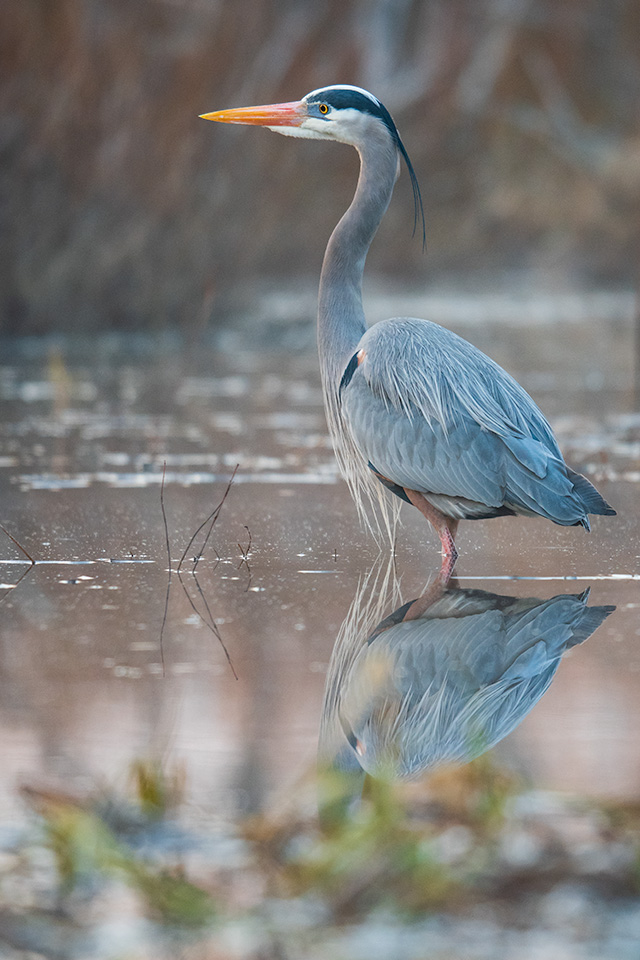
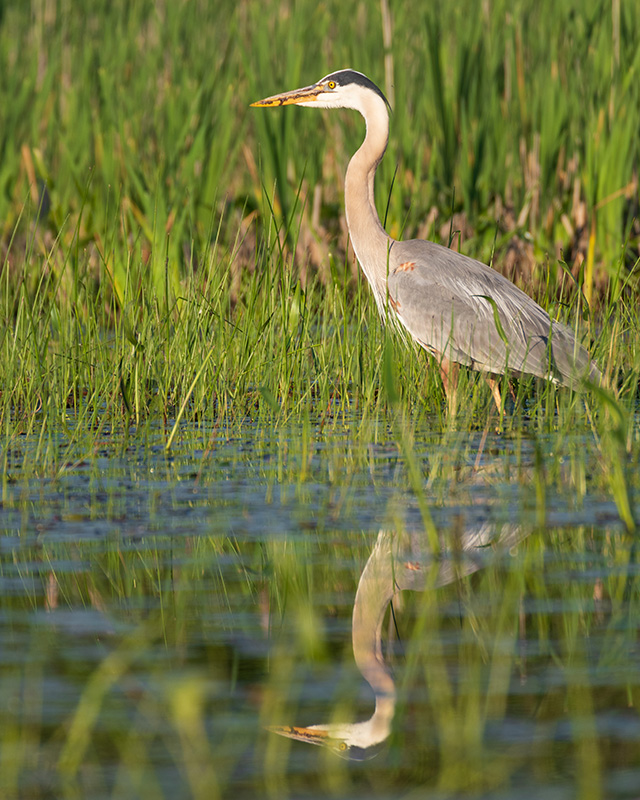
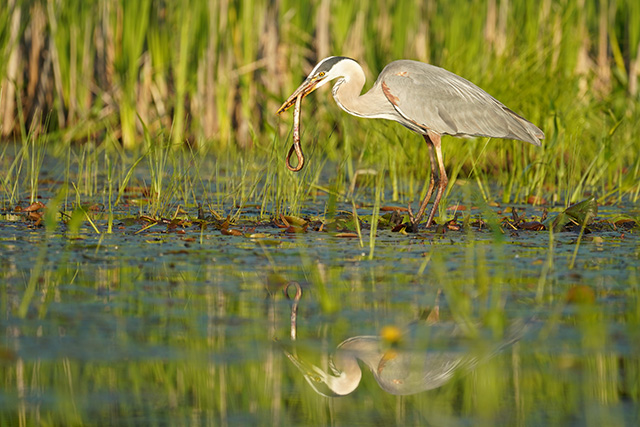
Aside from loons, another favorite subject of mine is herons. They're fun birds to observe and photograph. However, they're also much more skittish than loons. If I get too close to a loon, which I try hard to avoid, they just swim away a bit and get back to business. If I get too close to a heron, they're going to fly away. And 'too close' can mean hundreds of feet sometimes. When photographing most animals, I like to stop paddling as far away as possible, so I can just sort of glide and float near the subject. I don't paddle loud, but any noise or movement can upset many animals. This is also why I like to keep my bag open once I'm shooting because unzipping or undoing a bag has proven to be a bit too much for animals on more than one occasion. Live and learn.
Is there a best lens for kayaking?
Everyone has access to different photo gear, but I wanted to touch on some of my favorite lenses to use in the kayak. I've had the pleasure to use lots of different cameras and lenses in my role as Reviews Editor here at Imaging Resource, and here are some of the lenses that have been great to use for photographing wildlife from a kayak.
Good choices for Sony photographers
For Sony shooters, you have quite a few options. From Sony itself, the FE 100-400mm f/4.5-5.6 GM OSS is an awesome lens. We Field Tested it back in 2017, and it proved to be a great lens for wildlife photography. At just under 1,400 grams, it's not too heavy either. It's very easy to use in a kayak, and the built-in optical stabilization helps keep it steady. It's a fantastic lens.
Sony also offers a 200-600mm lens if you need a bit more reach. The FE 200-600mm f/5.6-6.3 G OSS did very well during hands-on time, too, although it's a larger, heavier lens and could be more difficult to use in a kayak.

Recently, a couple of other options hit the market. Tamron's 150-500 f/5-6.7 Di III VC VXD lens impressed me a lot during my hands-on time with it, and it did very well in my kayak. Despite its 500mm focal length, the lens weighs only 1.88kg (4.14 lbs), which is pretty manageable. It's also $1,400, making the lens an excellent value for wildlife photographers on a budget.
Sigma released a new 150-600mm lens this summer, too. The lens is 2.1 kg (4.6 lbs), so it's a bit heavier than the Tamron lens, but you get an extra 100mm of reach and a slightly faster maximum aperture. The Sigma 150-600mm f/5-6.3 DG DN OS Sports is one of the most versatile lenses for wildlife photography available for Sony E-mount. Like the Tamron, it's also a great deal. Sigma's new lens has a suggested retail price of $1,500.
Nikon photographers have many choices
If you use a Nikon DSLR camera, there are a lot of options. In addition to a 70-200mm f/2.8 zoom, Nikon also has a wide range of high-end telephoto primes and a very good, albeit expensive, 180-400mm f/4E TC1.4 FL ED VR AF-S zoom lens. It's a $12,400 lens, putting it well out of reach for many photographers, but it's fantastic.
If you want to save a considerable amount of money, the Nikon 200-500mm f/5.6E ED VR AF-S is a great choice. I use this lens on my Nikon D500 a lot. We published a Field Test for this lens back in 2016, and it's still a great lens today. At $1,400, it's also a great deal. This is probably my most-used lens for wildlife photography, and it works well in a kayak, although it is a pretty hefty zoom. If you want a 500mm reach but don't want to use a heavy lens, the Nikon 500mm f/5.6E PF ED AF-S VR Nikkor is a fantastic choice, too. It's super lightweight and has great image quality.
On Nikon mirrorless cameras, the options are much more limited. You can use the Z 70-200mm f/2.8 VR S or adapt an F-mount lens using the FTZ adapter. Nikon is working on additional options, but for now, it's somewhat slim pickings.
Canon options for EF and RF mount
I don't have as much hands-on time with Canon lenses, but Canon's mirrorless RF mount has some intriguing choices for wildlife photography. Canon recently released native RF versions of its 400mm f/2.8 L IS USM and 600mm f/4 L IS USM lenses. Granted, at $12,000 and $13,000, respectively, they're extremely expensive. There are also 70-200mm zooms and an RF 100-500 f/4.5-7.1 L IS USM lens that promises to be a versatile choice. I hope to go hands-on with it sometime, but I'm confident it's a great choice.
For EF mount, the 70-200mm zooms are always a good choice. Canon also has the EF 28-300mm f/3.5/5.6L IS USM lens, which offers an extensive focal length range. It's one of the few options that can work well for landscapes and wildlife photography from a boat. You also can't go wrong with 70-300mm or 100-400mm zoom lenses.
Fujifilm X and GF mount options
On Fujifilm X mount, the XF 100-400mm f/4.5-5.6 R LM OIS WR is a great choice. On APS-C cameras, it's a 150-600mm equivalent lens, making it a very flexible zoom lens.
You may not think about the medium-format Fujifilm GFX cameras being suitable for wildlife photography, but I've had pretty good luck with them, especially with the GF 250mm f/4 R LM OIS WR lens. The GF 100-200mm f/5.6 R LM OIS WR could also work well, although subjects will need to be pretty close.
Panasonic and Olympus camera systems
For a full-frame Panasonic S series camera, the Lumix S PRO 70-200mm f/2.8 is a solid choice. For Micro Four Thirds Panasonic cameras, the Leica DG 100-400mm f/4-6.3 ASPH is a superb choice delivering a 200-800mm focal length range.
On Olympus MFT cameras, the M.Zuiko Digital ED 150-400mm f/4.5 TC1.25X IS PRO should be a great choice, although this lens is very expensive at around $7,500. The M.Zuiko Digital ED 300mm f/4 IS PRO is also a very good option. And like Panasonic, Olympus also offers a 100-400mm zoom.
Summing up lens options
I know I've mentioned a lot of different lenses. The primary takeaway is that telephoto zoom lenses offer great versatility. Further, having a somewhat lightweight and compact lens is a bonus. Most lenses these days deliver strong autofocus performance, which is also essential when in a moving kayak while photographing moving subjects. Having a fast, or bright, aperture is nice, but it's challenging to have a lens that is simultaneously lightweight, offers good reach and has a fast aperture.
Wrapping up
While there's always more to learn, I'd sum up my years of experience in a few simple sentences. Be safe. Have fun. And spend the time to learn about animals and locations.
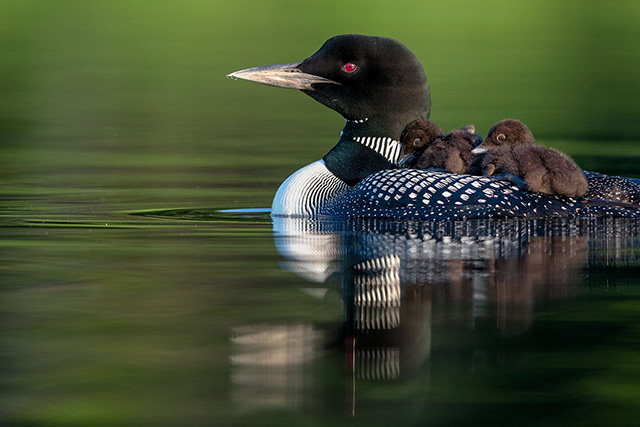
Photo gear only takes you so far. You don't need a super long lens, although it helps, and you don't need the latest and greatest camera, although that can help too. There's absolutely no substitute for preparation, experience and putting in some time. When in doubt out on the water, increase your shutter speed, point the camera and click. Good things will happen.