Macphun Aurora HDR 2017 Review: A streamlined yet feature-rich HDR app for everyone
posted Friday, September 30, 2016 at 9:33 AM EST
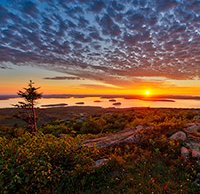
Macphun's Aurora HDR 2017 software made its debut for Mac OS X on September 29, and I've been fortunate enough to have a review copy of the software to work with this past month. I've been very impressed with the software and think that it's an excellent option for photographers looking to either make better HDR images or get their toes wet with the process for the first time. It's accessible but powerful.
Aurora HDR 2017 Features
Firstly, let's take a look at some of the new features that Aurora HDR 2017 brings with it. The full list of improvements is extensive, but I'll rattle them off nonetheless. Compared to Aurora 2016 Professional, Aurora HDR 2017 includes a number of improvements and features:
- Improved tone-mapping technology
- Batch image processing
- Advanced HDR tone-mapping adjustments
- Automatic RAW color noise reduction
- DNG file support
- Polarizing filter
- Radial masking tool
- Zone system for luminosity masks
- Advanced top and bottom adjustment panel
- Hue-saturation-luminosity (HSL) tool
- Feather and density parameters for layer masks
- Image resize and sharpen on export
- Improved user interface
- HSL panel
- Additional blend modes for layers
- Serge Ramelli signature HDR presets
- Captain Kimo signature HDR presets.
To me, the highlights in the list above are batch image processing, advanced tone-mapping adjustments, advanced top and bottom adjustment panel and the HSL tool. As always, certain features will be important to particular users, but as someone who primarily shoots landscapes, those are the tools I was most interested in trying out.
Using Aurora HDR 2017
After downloading Aurora HDR 2017, I initially ran into a few issues with the beta software including extensive crashing. However, after downloading a software update, everything worked flawlessly. The software runs smoothly and doesn't use excessive resources. Even when dealing with large RAW files, the processing is quick, and Aurora HDR runs well, handling tone mapping and ghost reduction quickly and effectively. Obviously processing speed depends on your computer and the images you are combining, but I thought it worked as quickly as any HDR software I've used.
The ever-present histogram in the top right corner of the user interface is very helpful, particularly when making adjustments. In addition to being visually informative, you can easily create luminosity masks based on the zone system (0 through 10 with 0 being black and 10 being white) by hovering over the histogram and clicking on a zone. Luminosity masks are very useful for making selective edits to your images based on brightness rather than painted masks or colors.
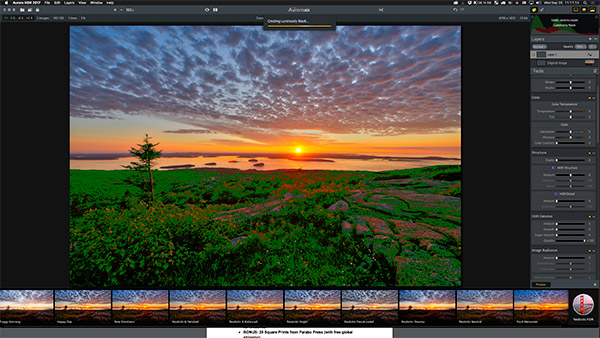
Below the histogram, the amount of adjustments you have access to in the side panel can be a little overwhelming at first, but they're all very straightforward and edits are non-destructive; you can move a slider back at any time without undoing any of your other work.
I won't run through all of the available adjustments, but all of the basics are there, along with many more fine-tuned, specialized adjustments, such as HDR structure, detail, and denoise. You can adjust details based on the entire image or just modify details in highlights or shadows. The new top and bottom adjustment panel is very useful, particularly for landscape images. I enjoyed using it to darken the sky in my images, replicating the effect of a graduated neutral density filter. The new HSL panel also works very well. I like the polarizing filter adjustment for adding a bit of blue into the sky, but you'll still need to use an actual polarizing filter at the time of capture to get the full impact, like reducing reflections.
In addition to using luminosity masks, which are a simple and effective way to make selective edits to your HDR image, the brush works very well. I used Aurora HDR 2017 with my venerable Wacom Intuos 3, and the brush worked very well when operating with selective edits in adjustments layers. By clicking on the brush menu above your image, you can toggle on or off the pen pressure affecting radius and opacity, which are nice options to have. There are also a wide variety of default brush types to select from. As an additional note, regarding layers, there are a few new blend modes: darken, color burn and lighten.
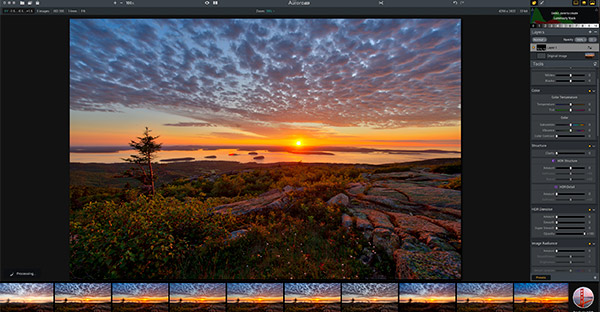
For gradient masks, Aurora HDR 2017 offers a new way to mask your image with its radial gradient mask menu. I personally don't use that tool in my work, but for those who do, it'll surely be an excellent addition. The standard gradient mask tool present in previous editions of Aurora HDR remains.
User Interface
I want to discuss the software's user interface as a whole now because it's very good and noteworthy. The dark user interface works well and will look familiar to Lightroom users, but it's the cleanliness and accessibility that impressed me. It's a delicate balance to be struck with software between not overwhelming new users with too many options too quickly while also ensuring that more advanced users have quick access to all of the tools that they need. I think that Aurora HDR 2017 does very well in this regard.
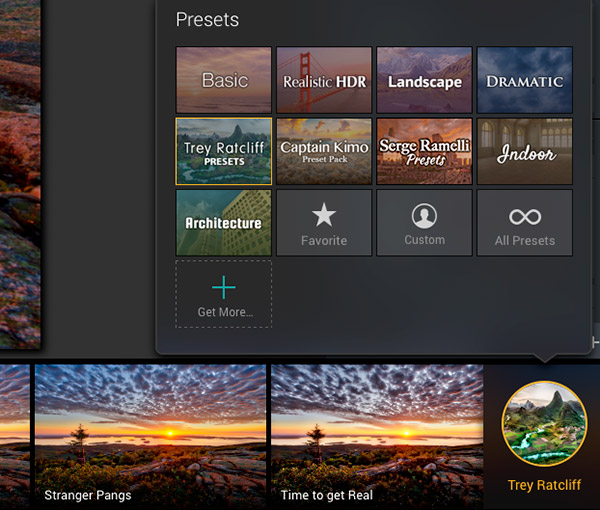
If you want to work fast or just want a great starting point for your image, the preset bar at the bottom is for you. There is a wide array of excellent presets, including some from Serge Ramelli, Trey Ratcliff and Captain Kimo in addition to groups like "basic," "realistic HDR," and "landscape." You can create your own custom presets as well! Personally, I liked the Captain Kimo presets the best, but it's definitely very subjective. The main takeaway is that there's truly something for everyone in the included presets, but feel free to make your own to suit your style.
Although it isn't something I would use much, as I prefer to edit individual HDR images meticulously, batch processing was a widely requested feature, and it has finally arrived with the 2017 edition of Aurora HDR. It's accessible from the software's startup screen, and it works well, but you don't have a lot of options for adjusting images. You can apply presets to a batch, but you can't make adjustments beyond the relatively small number of options provided in the batch processing window. For users with a lot of HDR images to go through, I'm sure batch processing will be useful.
Summary: Aurora HDR 2017 is an excellent HDR app
In case it is somehow not already obvious, I have really enjoyed my time with Macphun's Aurora HDR 2017 software. I'm not a big HDR photography buff, typically because I struggle to achieve somewhat natural results that mimic how I remember a scene. There's nothing wrong with the aggressive HDR technique of other photographers, but I just prefer a subtle approach. It's been difficult to find software that allows me to create the HDR results that I like easily until I came across Aurora HDR. It has allowed me to get exactly the results I want. Not only that, but it was very simple and straightforward to create the HDR images I wanted.
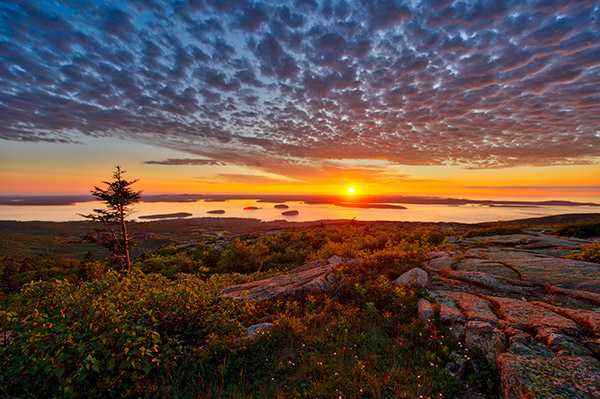
If you're looking for HDR software -- either as a standalone app or plugin -- then you'll be hard-pressed to find a better option than Macphun's Aurora HDR 2017. They've hit a home run and created an accessible, powerful HDR processor and editor.
System Requirements
Besides the obvious -- having a Mac running OS X -- the system requirements for Aurora HDR 2017 are pretty minimal. You need a computer with at least a Core 2 Duo processor from 2009 or better, a minimum of 4 gigabytes of RAM, OS X 10.10 or newer operating system, 2 GB of hard drive space and a display with a resolution of at least 1280 x 800.
Pricing and Availability
Aurora HDR 2017 is available starting September 29 for a price of US$99 for new customers. Photographers upgrading from version 1.0 can do so for $49 and users who were using Aurora HDR Standard version 1.0 can upgrade to HDR 2017 for $69.