Three ways to use curves to ensure your image is free of spots, specks and smudges
posted Thursday, January 26, 2017 at 7:00 AM EDT

Whether you’re a working pro or an enthusiast looking to print an image or two, it is important to check your image file to make sure you’ve cleaned up any editing errors or dust spots. You don’t want to send a file to a client or see a print arrive from a lab and find an issue that could’ve easily been addressed during your editing.
There are some techniques you can use to help make this process easier. Dennis Dunbar has written an article for SLR Lounge which covers three different ways to use curves in Photoshop to check your files for imperfections.
The first method is to darken your image. This allows you to more easily find spots and specks that need to be removed. Add a curves adjustment layer to your stack of layer(s) and pull down on the curve. This works really well for finding dust spots in bright areas, such as the sky.

A second method is better for images with many dark areas. The principle and method is the same, you add a curves adjustment layer to the top of your layers, but this time instead of pulling the curve down to darken the image, you push the curve up to lighten it. This will allow you to find the otherwise hard-to-see imperfections and spots in the darker parts of your image.
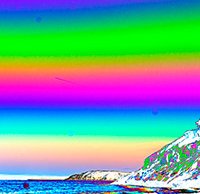
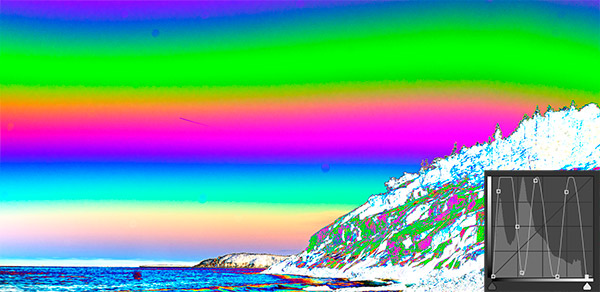
The final method requires creating a solarization curve. This adjustment curve, which consists of a series of peaks and valleys, exaggerates tonal gradation. Even when the previous two curves methods show a clean file, solarizing your image can expose subtle issues.

It’s not unusual for retouchers to utilize all three methods above on a single image to ensure that their file is free from these imperfections before being published or printed. You work hard to capture great images, so why not be certain that the file is clean before showcasing it?
(Seen via SLR Lounge)