How to create a natural-looking shallow depth of field using Adobe Photoshop
posted Thursday, March 21, 2019 at 3:00 PM EDT

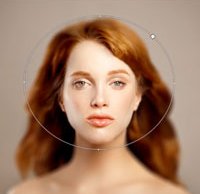
Sometimes you don't have access to a fast lens or perhaps are not in a position to utilize a fast aperture within a given situation. In times like these, you can use Photoshop to create a shallow depth of field during post-processing. In the video below, Unmesh Dinda of PiXimperect shows how to nondestructively create a realistic shallow depth of field in Photoshop through the use of customized blur filters.
The first step is to analyze the image to determine which areas are within the focal plane of your lens. To know which areas you want to blur, it's important to know which areas are meant to be sharp. Next, you create a copy of the background layer and convert the copied layer to a smart filter. By making it a smart filter, you can go back later and adjust your blur values. Now it is time to add the blur by clicking Filter > Blur Gallery > Iris Blur. To understand how this filter works and how to utilize it alongside other tools to create a realistic and natural-looking shallow depth of field, watch the full video below.
(Via PiXimperfect)